
How to Build: The Potting Bench
MAY 27, 2024Finding a potting bench for my 6’ frame has been a challenge - so we decided to build one. Not 6 foot tall? Just make the legs a little shorter!

This potting bench cost just over $300 and took under a week to build. Designed with beginner cuts and minimal tools, we think you’ll not only be able to build it, but it’ll serve you well for years to come.
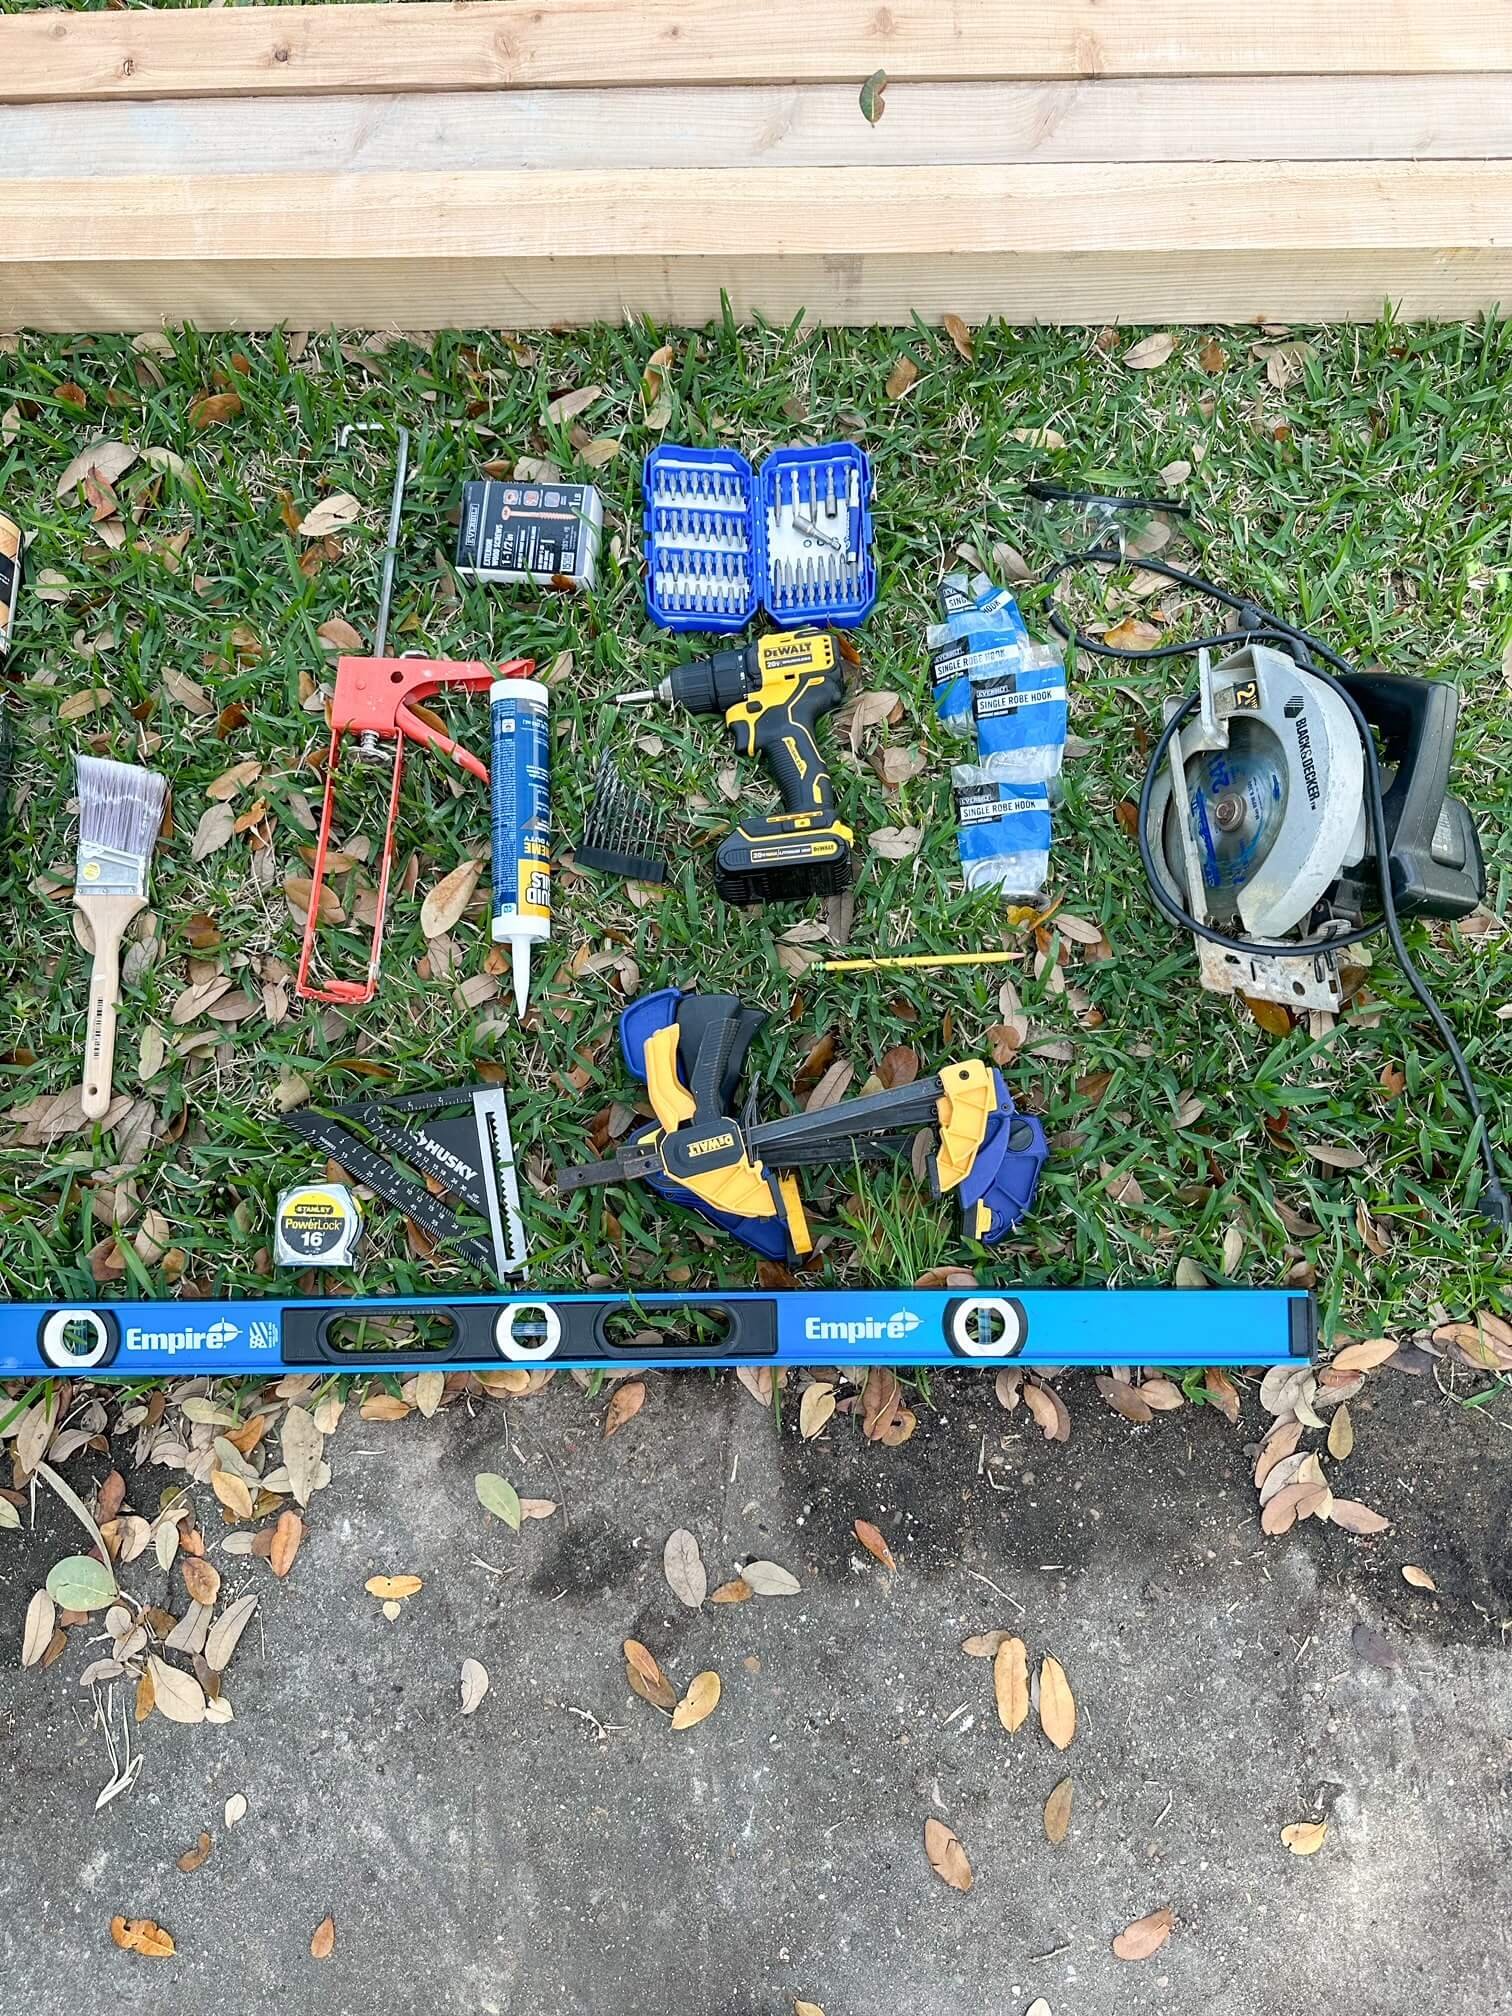
Tools + Supplies:
materials list:
13 - 1x4x8
3 - 1x6x8
3 - 4x4x8
1 - 1x8x8
1 - 2x4x8
1lb - exterior screws 2.5" long
1- bottle wood glue
1 - exterior stain (we used BEHR transparent)
as many as you like - hooks
tools needed: measuring tape, pencil, square, level, circular saw, drill, drill bits for pilot holes, clamps (or a dedicated friend), 4" paint roller, paint brush


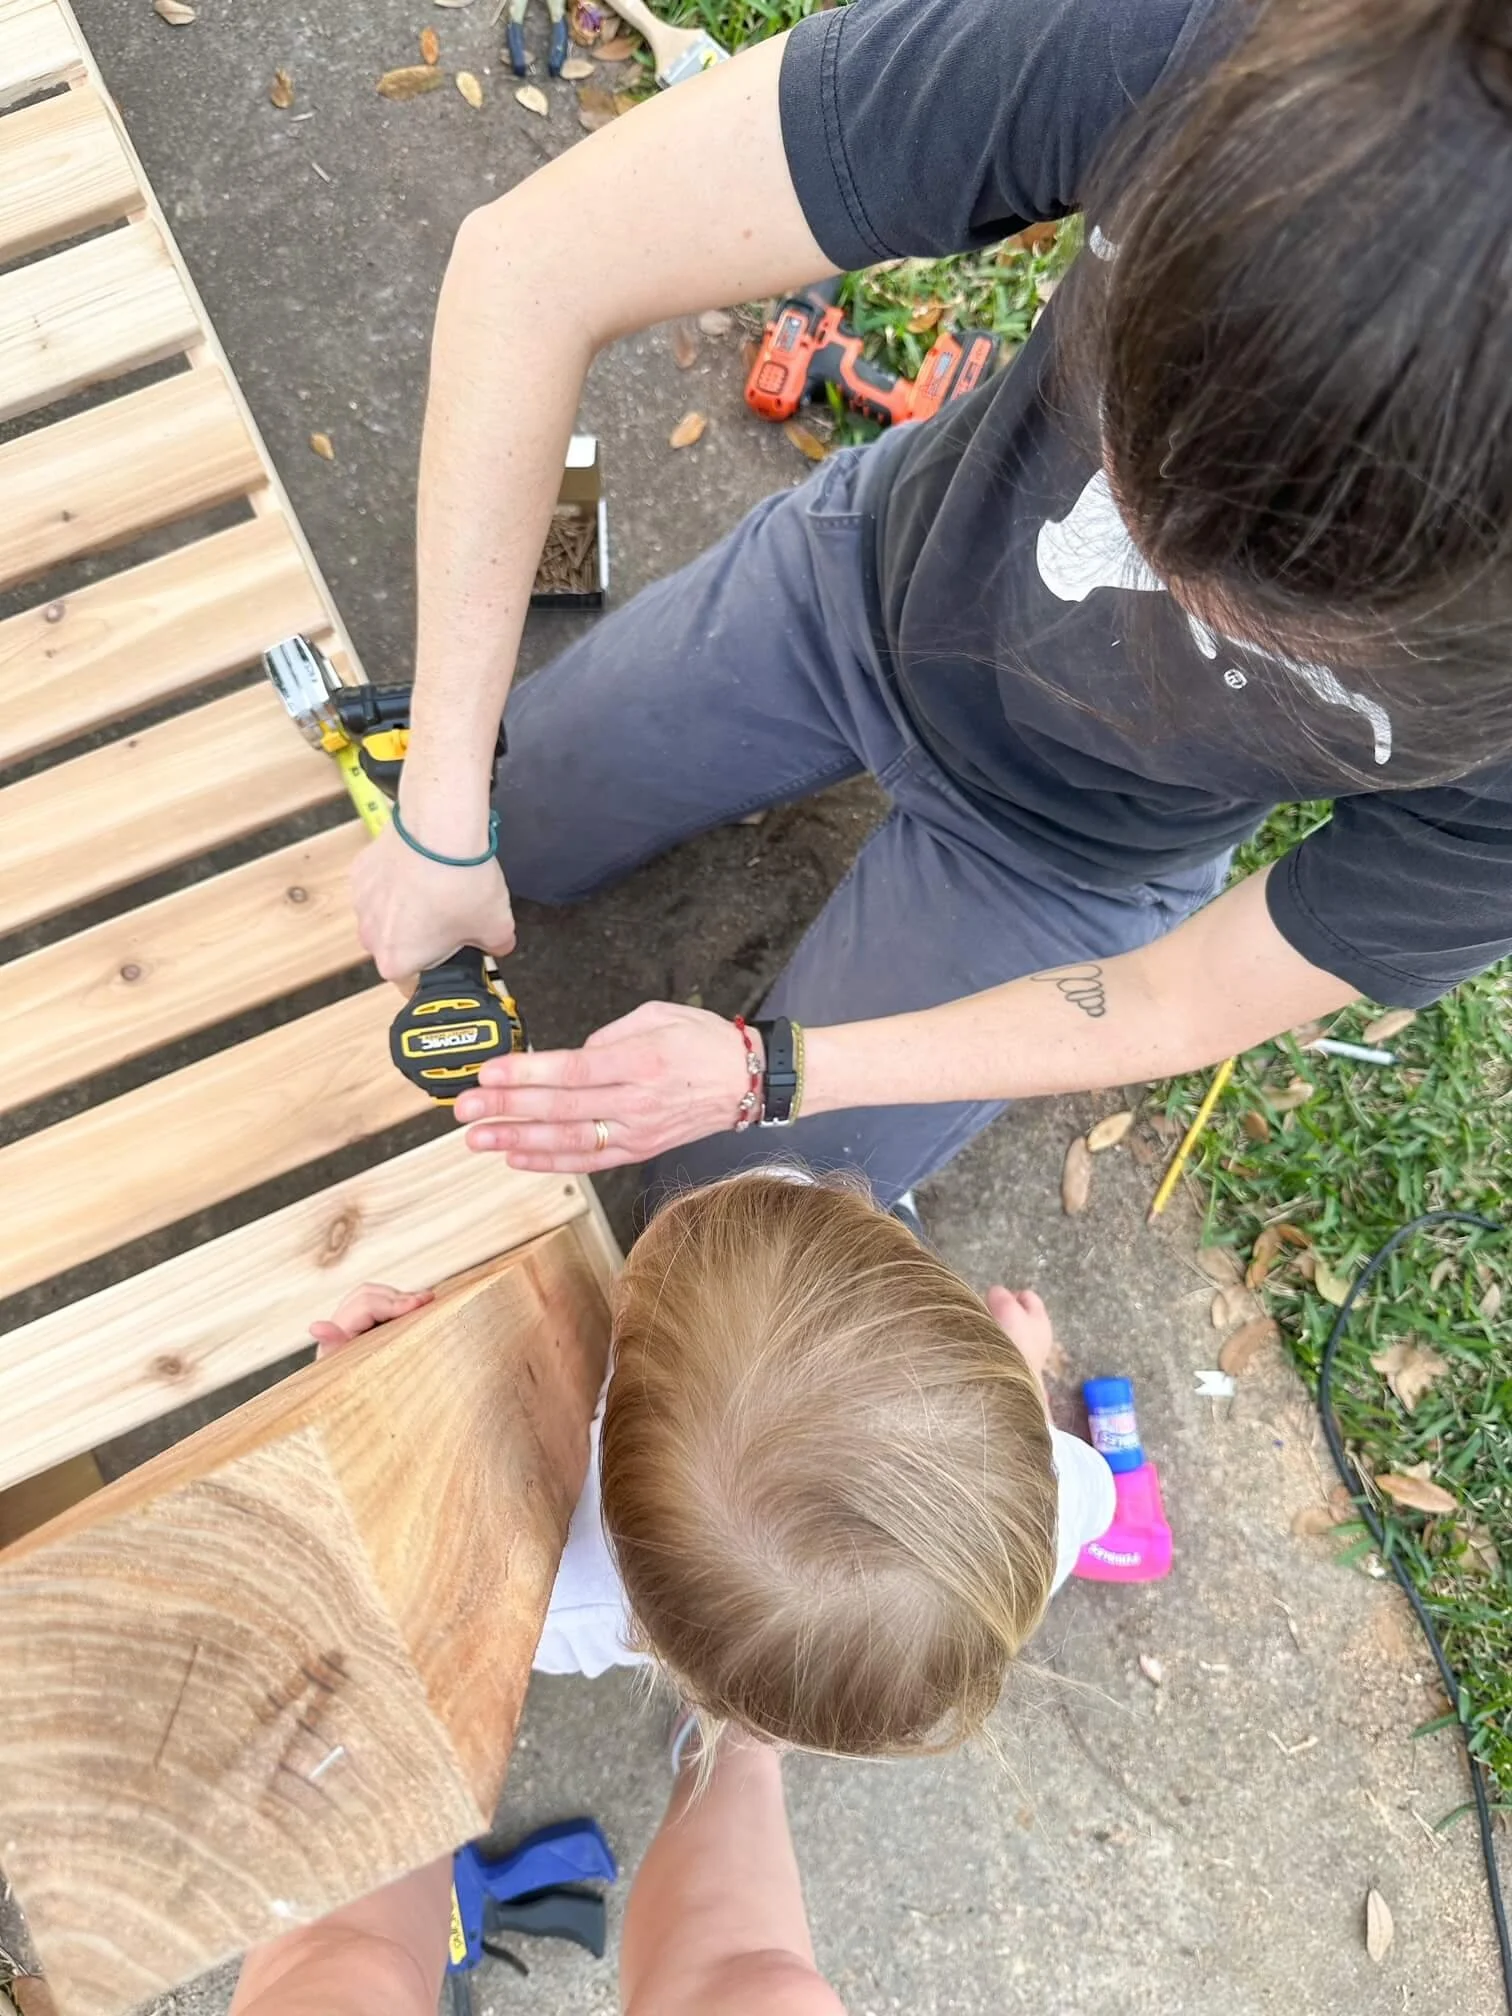


The Steps:
Start by cutting the 4x4 posts
> cut two posts to 65" (back legs)
> cut the third 4x4 into two 38" pieces (this will
create a 40" counter height, adjust shorter if
needed)
Then, frame out the bottom using 1x4s
> cut two 1x4s to 6' long
> cut a 1x4 to make TWO 1'10" pieces
> attach them on the outside of the four posts about 7-
10 inches off the ground, the longer pieces should
extend longer than the 4x4 posts in order to cover the
end grain of the shorter 1x4 pieces running front to
back. It is really important to measure this part
accurately, use a square and clamps to make sure
everything is perfect. make pilot holes and use 4
screws per attachment point
Frame our the bench top using a 1x4 and two 1x6s
> cut a 1x4 to 6'
> cut a 1x6 to 6'
> cut a 1x6 to make two 1'10" pieces
same as above making sure that the bottom of all of
these pieces are lined up, this will give you a lip on
the sides and back of the bench
Cut and attach supports for the bench top using the 2x4s
> measure and cut 2 pieces for inside the 4x4 uprights
> measure and cut 2 pieces for ??? Inside of the 4x4 (for the back most 1x4 to fasten to)
> measure and cut 1 piece for the center of the table
all of these supports need to be level with the 1x4 piece at the front of the table so the table top is flat. use a level or a long piece of wood to make sure they are all lined up with one another
Use seven 1x4s to make your table top (wood running long ways)
> measure and cut each piece to fit perfectly (save the cut off pieces for the bottom shelf)
attach each piece using wood glue on the 2x4 support pieces and screws (don't forget to drill pilot holes). The front most piece will stick out a bit providing a lip.
Use the cut offs from the table top, plus two more 1x4s to make the lower shelf
> measure and cut 15 pieces to fit the lower shelf going the short direction
attach with glue and screws (again, don't forget to predrill) with about a 1inch spacing between each board, we used the side of a paint brush to measure the gaps equally (tip: lay out all 15 pieces before you start screwing them in to make sure that the spacing is equal
build the top shelf using the 1x6 and 1x8
> measure and cut the 1x6 and 1x8 to span the distance between the top of the 4x4 posts
attach the 1x6 to the back of the 4x4 posts, high enough up so it will higher than the 1x8 shelf
attach the 1x8 shelf to the top of the 4x4 posts using glue and screws
stain and seal
Grow Get ‘Em


JOIN THE BUNGALOW BLOOMS NEWSLETTER
If you’ve enjoyed this, our newsletter delivers a mini lesson weekly to your inbox. We only email when we have something important to say and respect your privacy + inbox space.
Bungalow Blooms partners with affiliate platforms where commission may be earned based on clicks and or purchases, and I would love it if you decided to use the links above! Affiliate links help me to fund free content.